Entitlements for Workplace Analytics
Viva Insights is gaining popularity as a personal productivity and wellbeing tool, but it’s big brother, backed by Workplace Analytics (WPA) offers even more information to help organisations identify and promote good behaviours.
Introduction
Problem
The data that is available in WPA is very sensitive (even though it is anonymised) and the access to the backend data needs to be restricted. This is achieved through Azure Active Directory (AAD) which has a dependency on someone with elevated rights managing the permissions.
As with most allocations of permissions, once they have been allocated, they will usually never be reviewed or revoked. This can lead to
- Users finding it difficult and time-consuming to gain permissions
- IT needing to carryout the allocation of permissions
- Users retaining permissions when they no longer require them
Existing Process for Assigning WPA Roles
The existing process for assigning permissions includes the following steps:
- Open Azure Active Directory Enterprise Applications
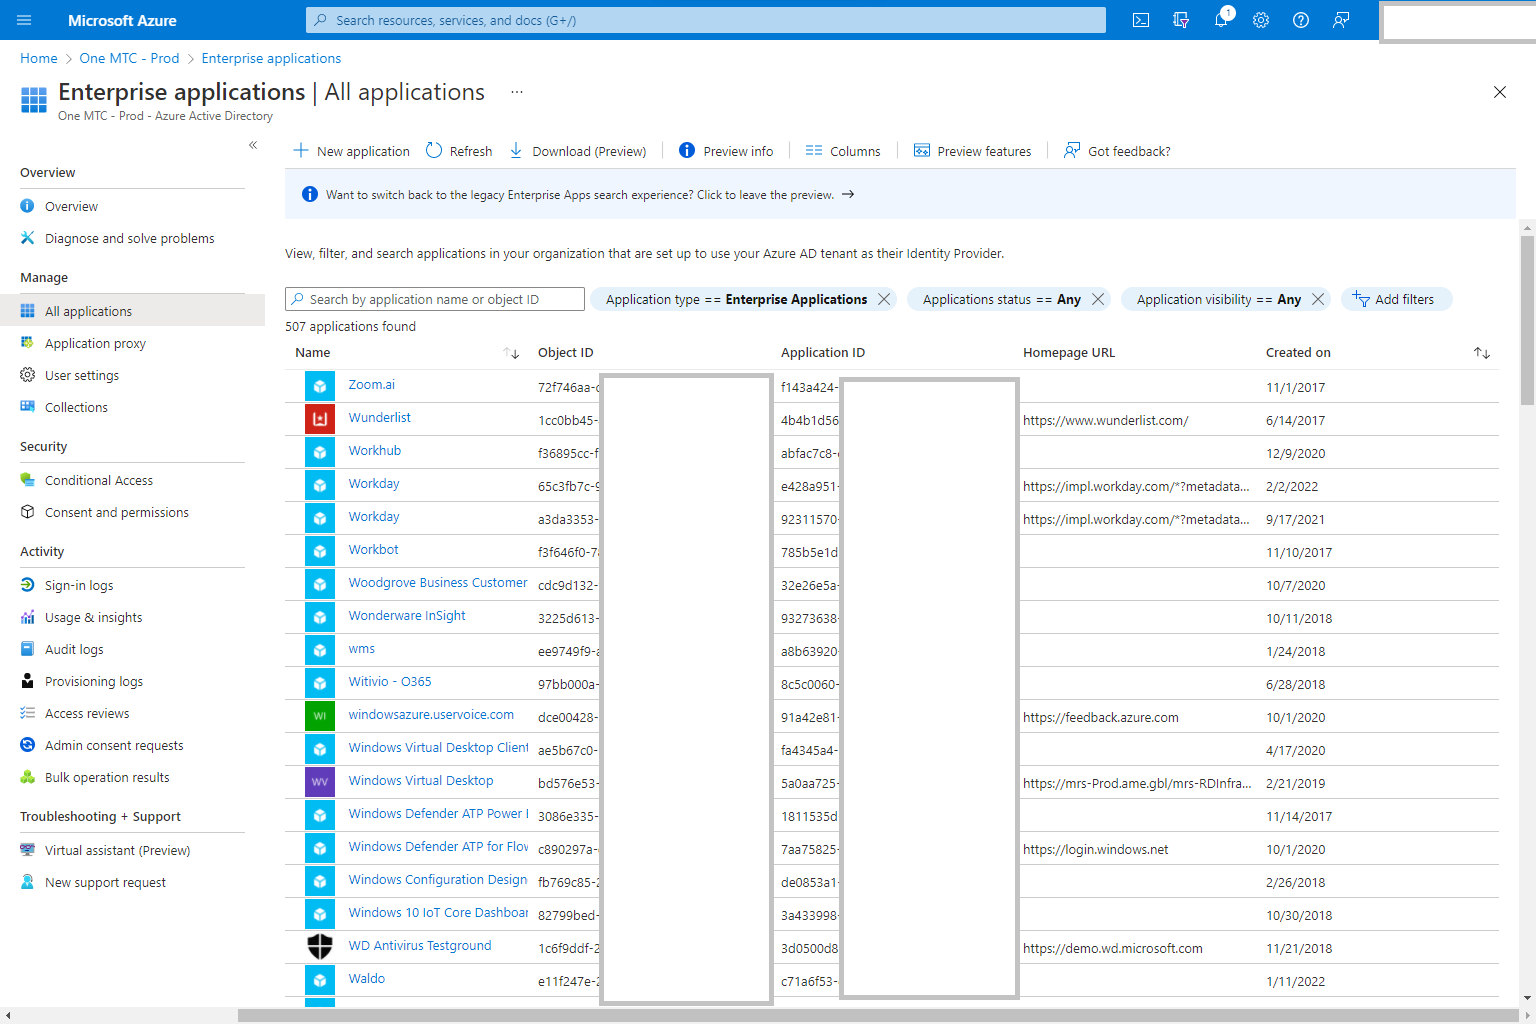
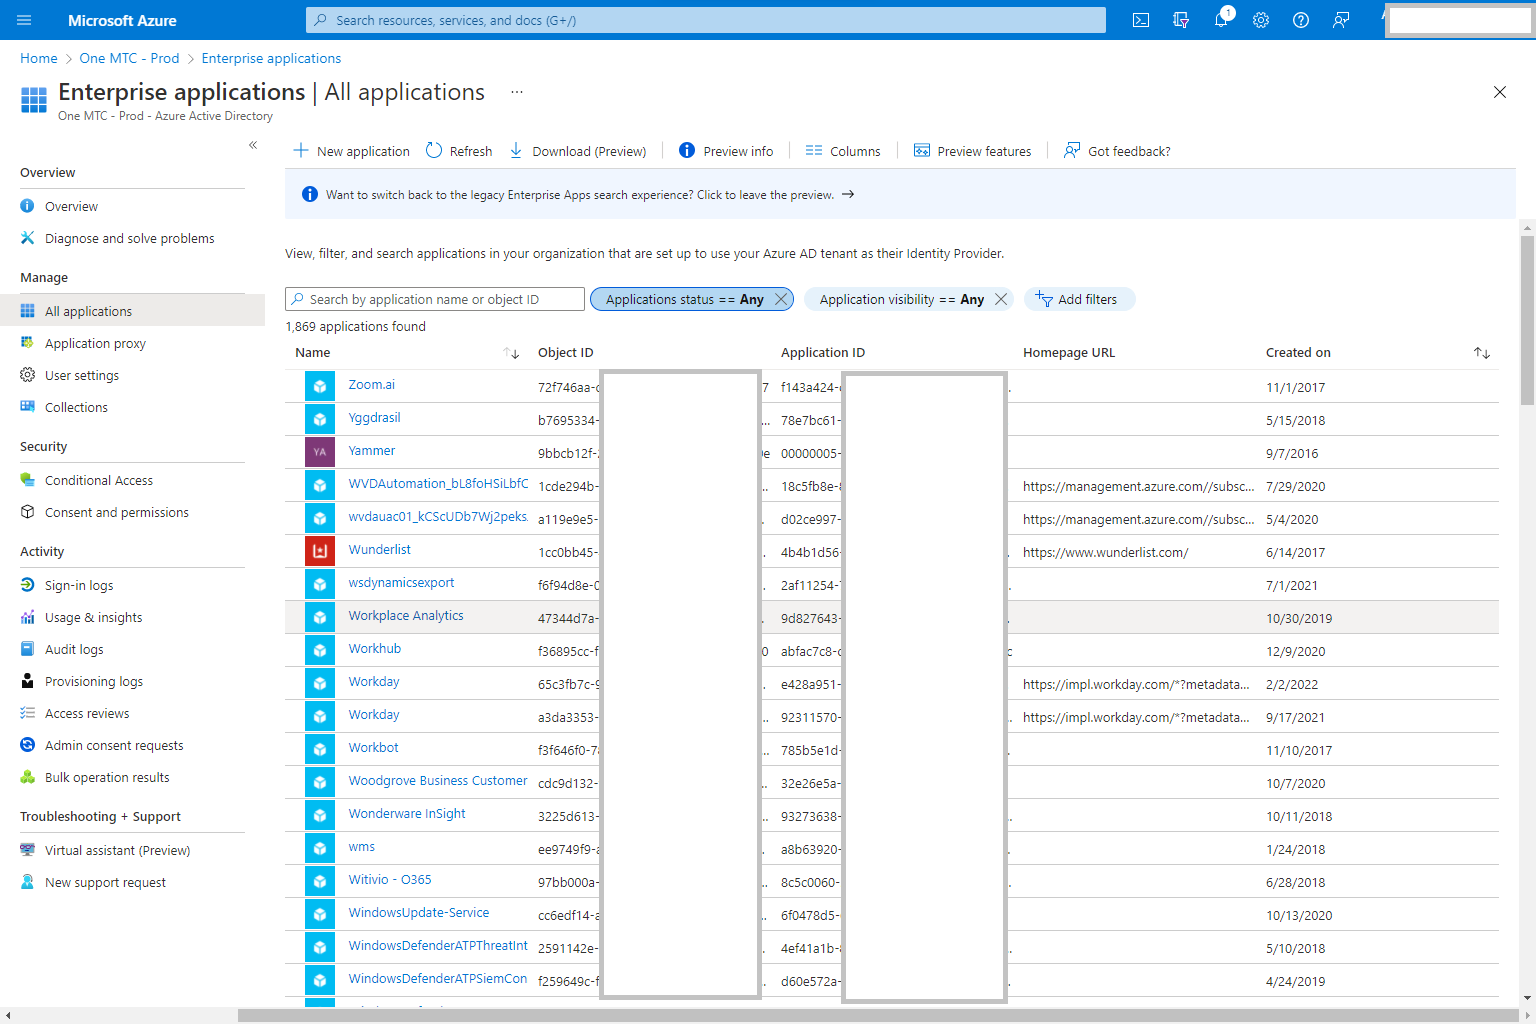
- Remove the filter of “Enterprise Applications” so that Workplace Analytics is displayed
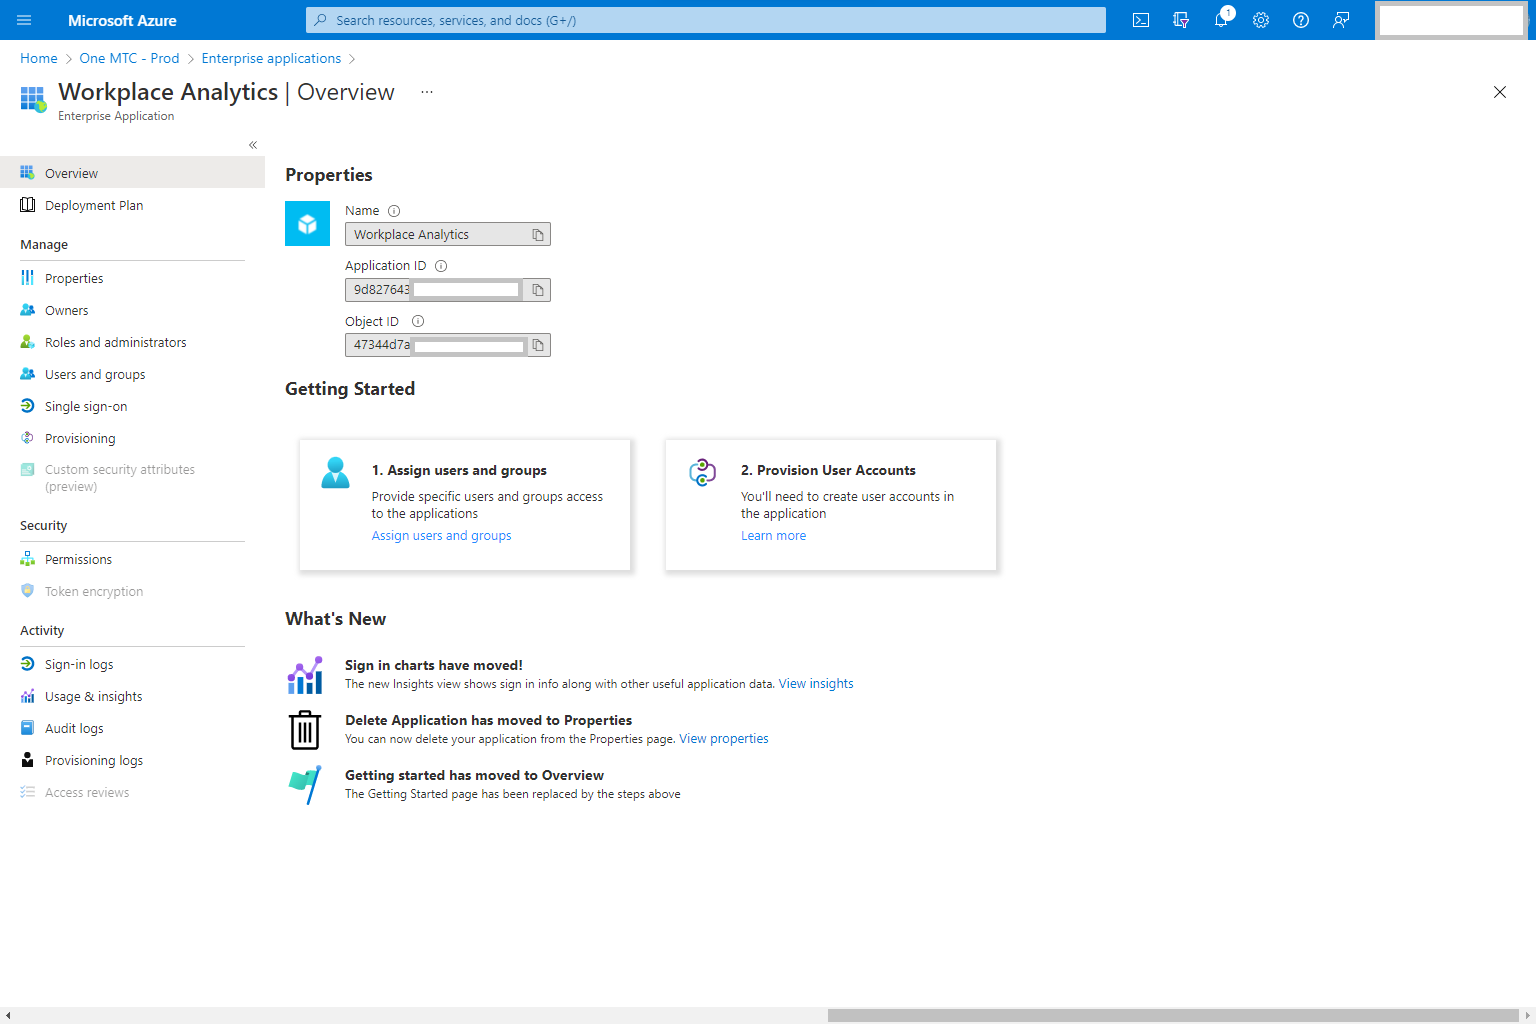
- Open the Workplace Analytics app
- Go to the assign users and groups screen
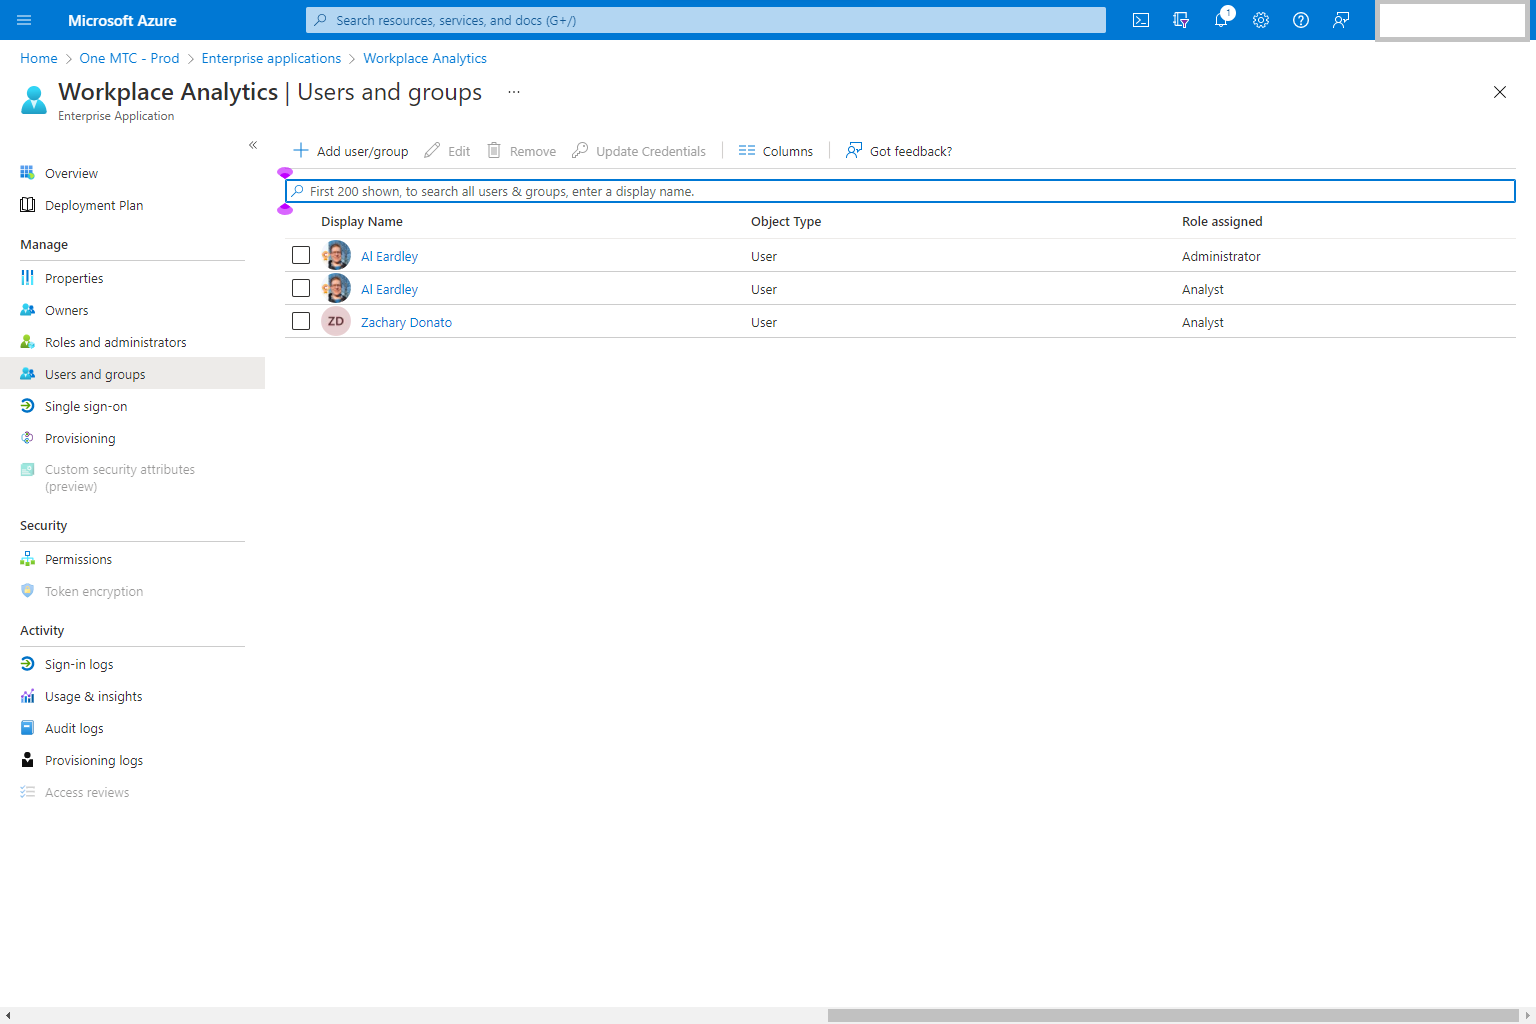
- Add users or groups to a role

Along with the issues of no reivews or approval, there may be additional permissions that are needed to allow users to work effectviely. These additional permissions would need to be allocated separately.
Solution
The solution that I will present in this post uses the Entitlements capability from AAD Identity Governance to
- Create a Catalogue of resources
- Add an Access Package to the Catalogue that create a group of permissions which are allocated as part of the Access Package
- Allow users to request access to Access Package
- Carry out an approval process to grant access to the Access Package
- Crate a review schedule to review access and revoke it when no longer required
Steps
Pre-requisites
This post is making the assumption that the following conditions are satisified:
- WPA has been licenced in the tenant
- The user carrying out these steps has permissions to create Access Packages in AAD
Add resources to a Catalogue
A Catalogue is a group of resources that can have permissions allocated as part of Access Packages. A Catalogue is made up of the following:
- Resources - these are SharePoint Sites, Teams or Applications
- Access Packages - groups or resources with specific permissions/roles, approval process, review process
- Roles and administrators - business users who can manage the Catalogue
The first step to enable WPA to be managed is to add it as a resource to a Catalogue.
- Open the Catalogue and view the Resources
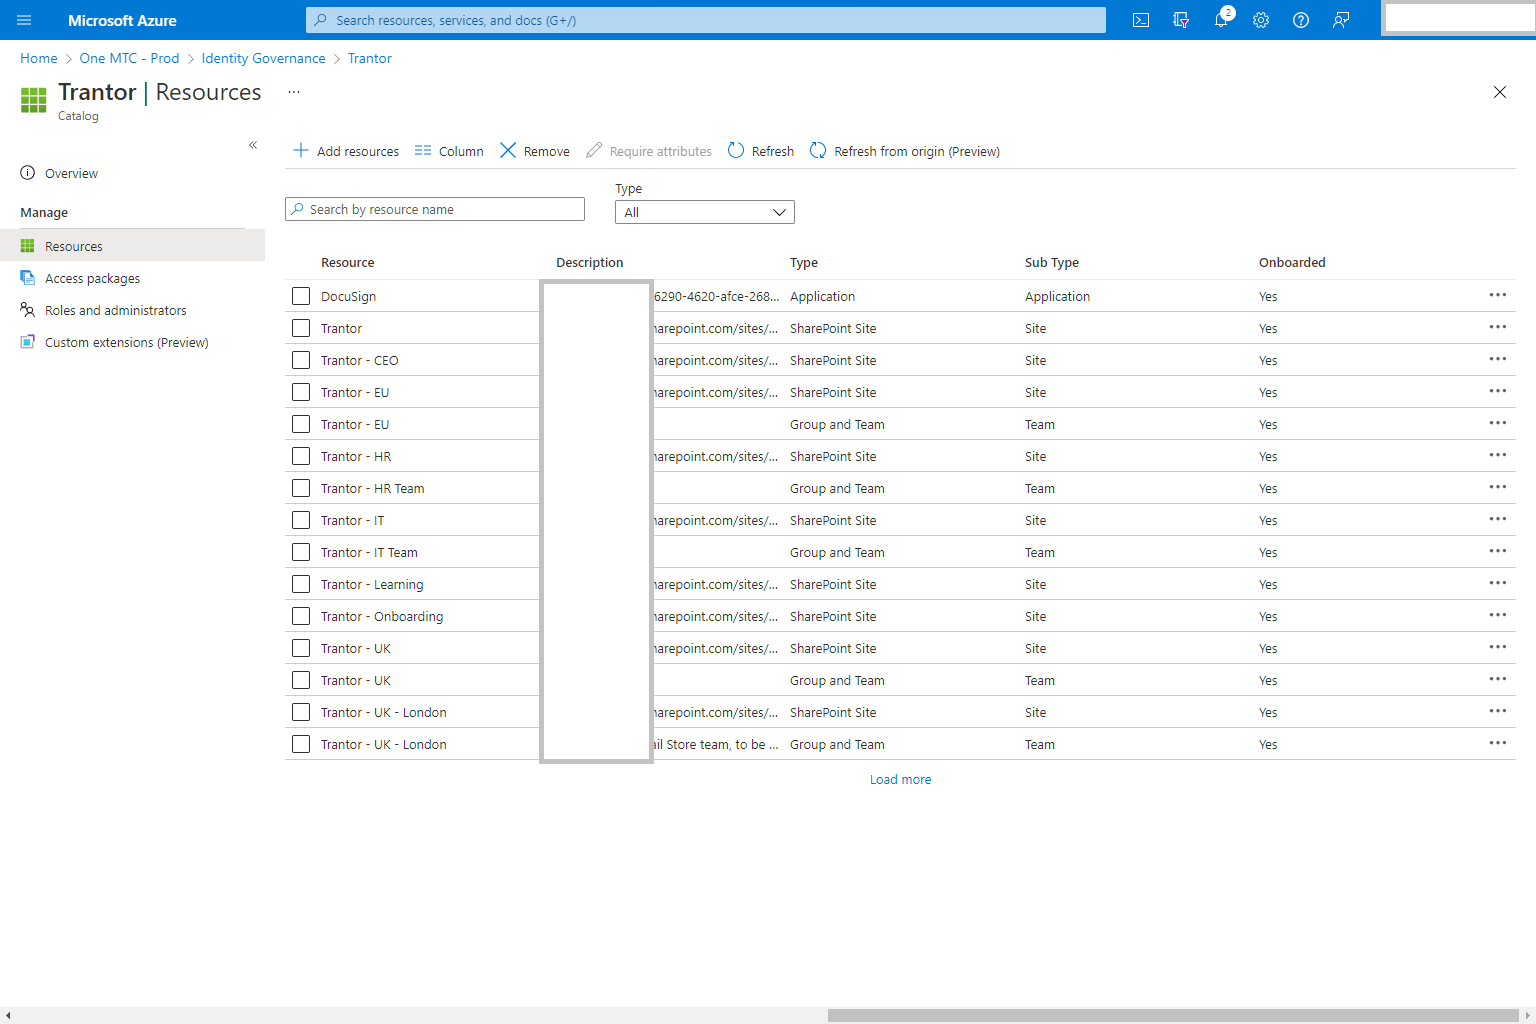
- Clicking on add a resource and searching for Workplace Analytics will not work

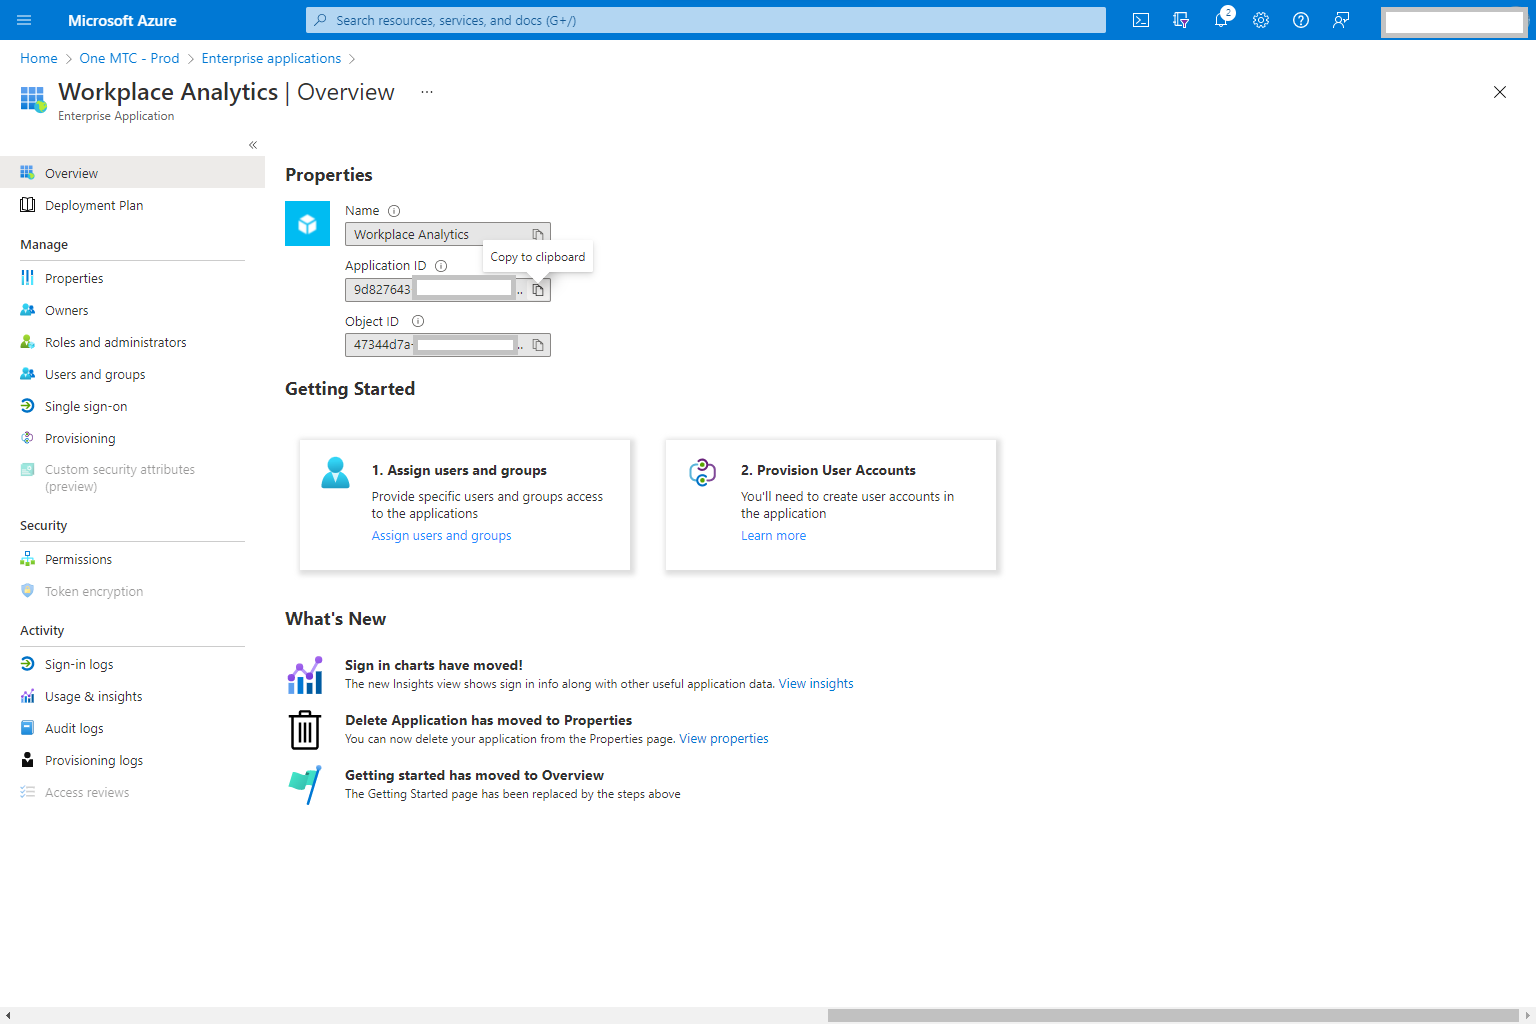
- Instead, go to Active Directory Enterprise Applications, and copy the App ID for Workplace Analytics
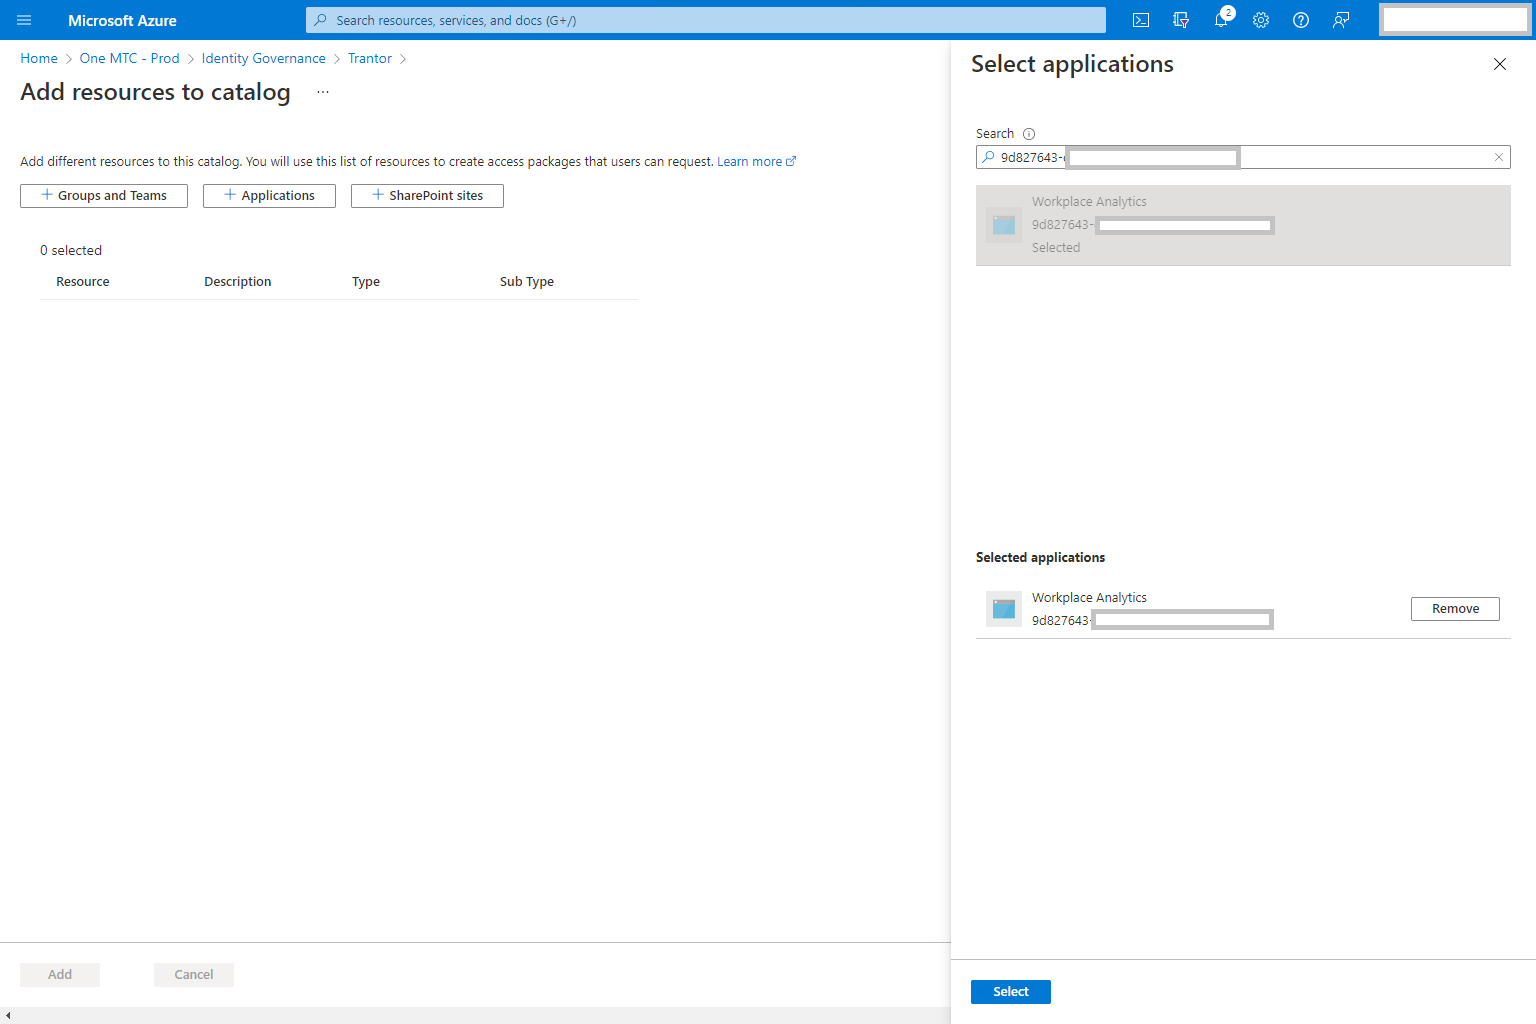
- Back in the dialogue to add a App resource to the Catalogue, search for the App ID for Workplace Analytics and add the App
Create an Access Package
Now that the Workplace Analytics app is in the Catalogue, an Access Package can be created. Each Access Package will provide different levels of access so consider naming them based on the role that they are supporting, e.g. Admin or Analyst rather than WPA
- Open the Access Package tab of the Catalogue
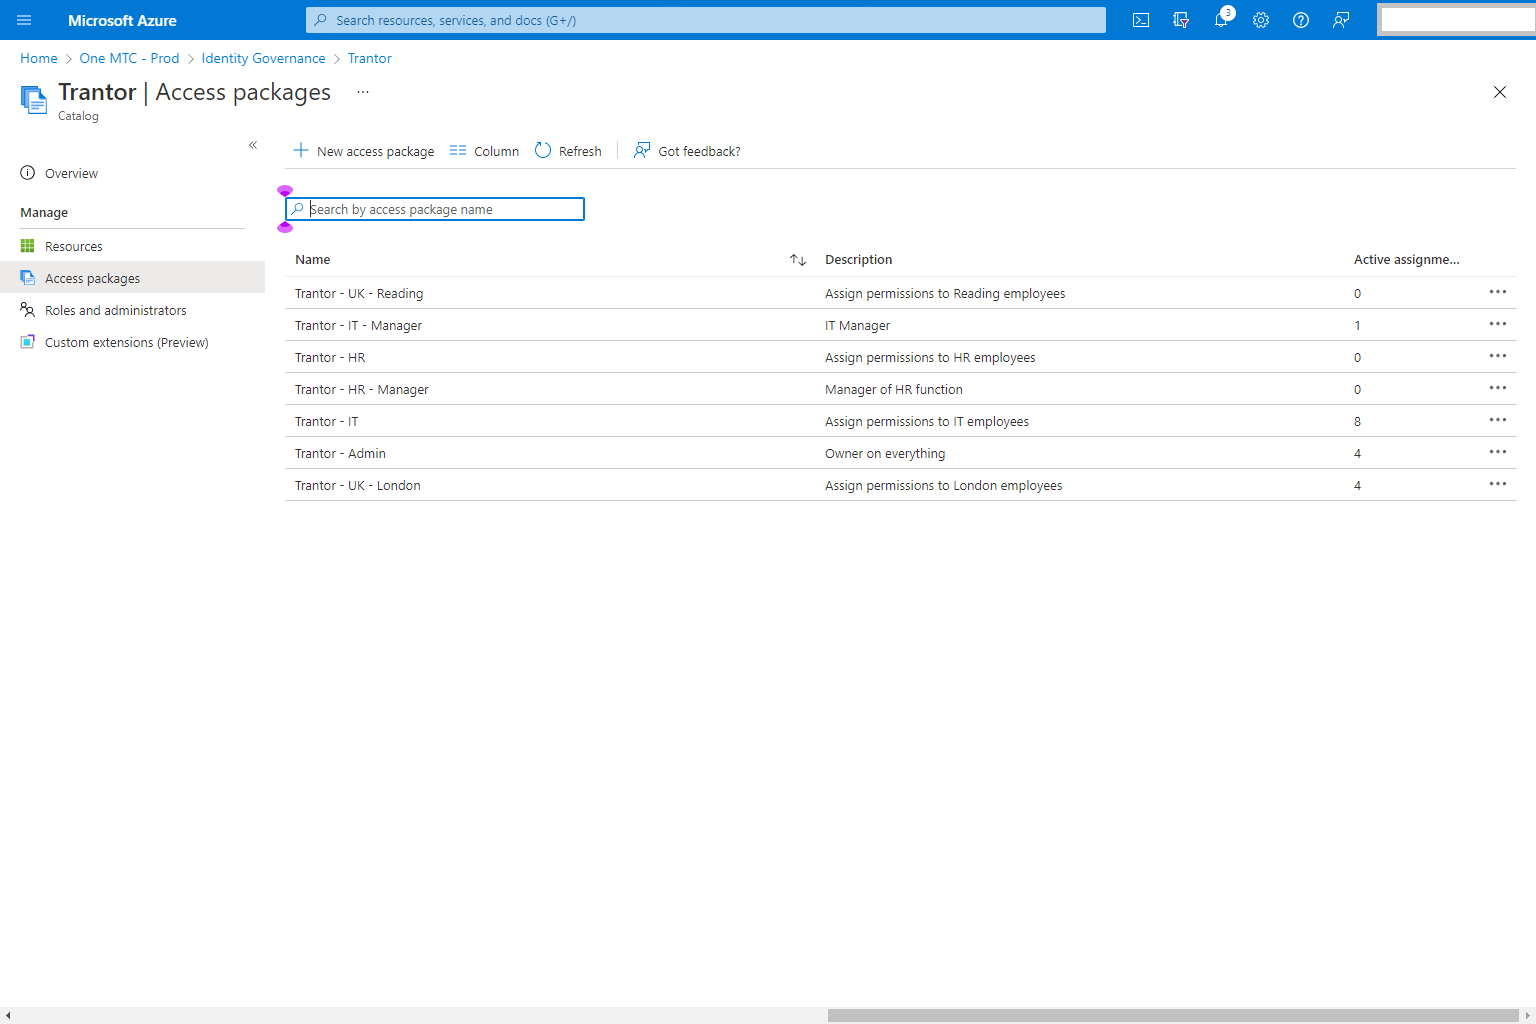
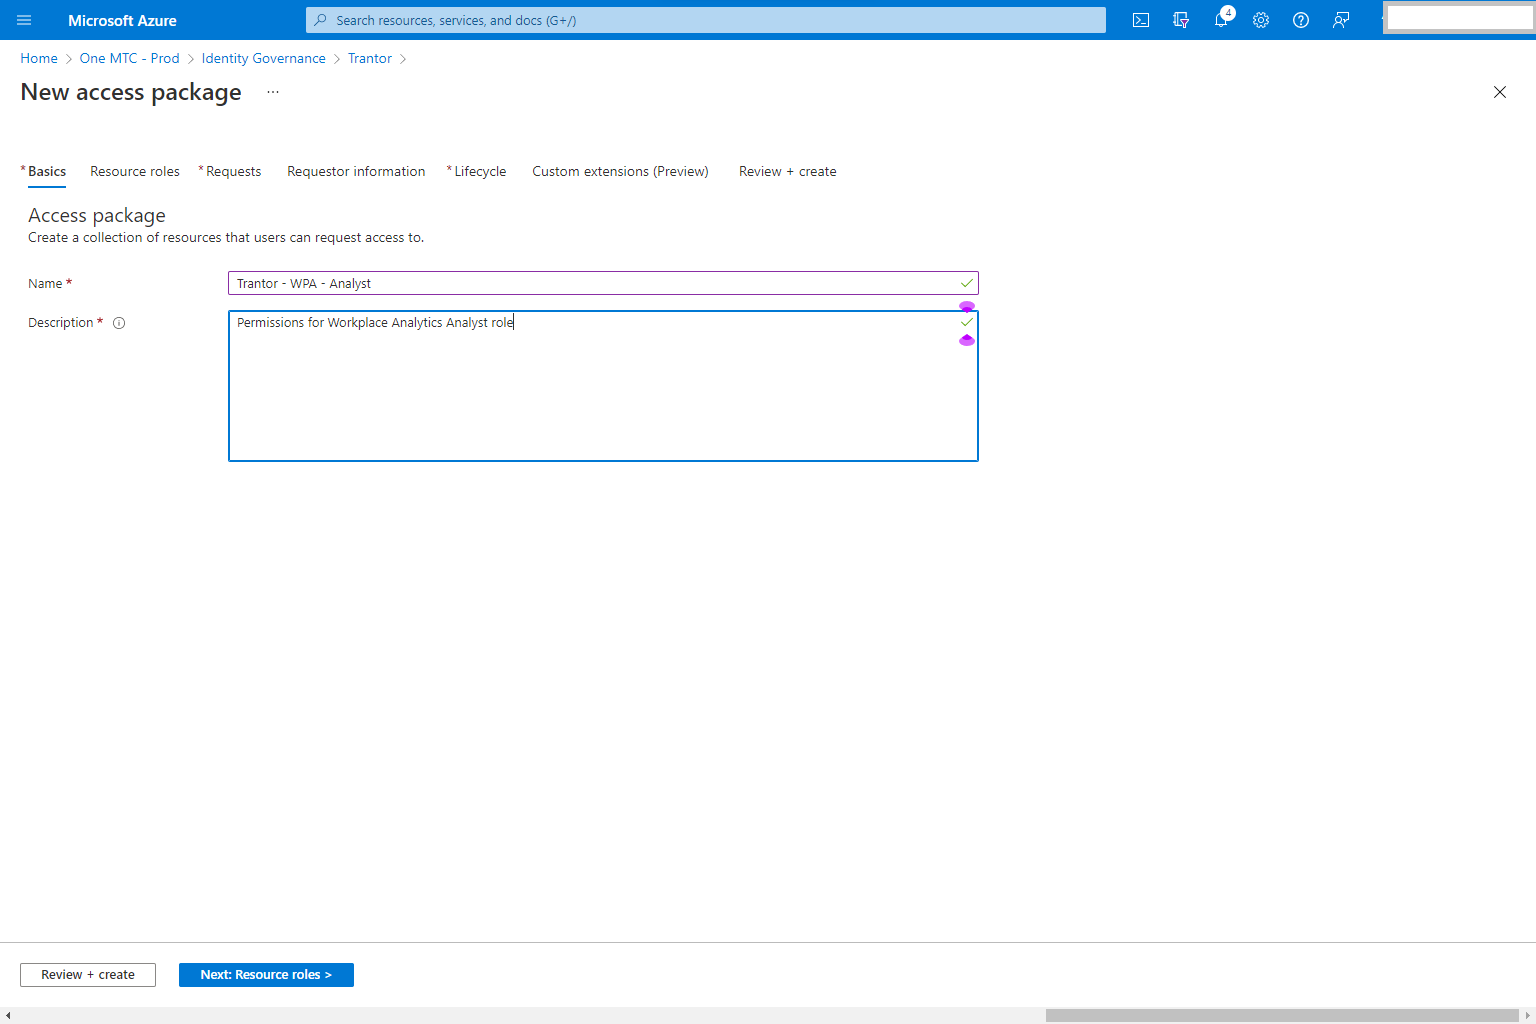
- Create a new Access Package providing a name and description that will be visible to users requesting the Access Package
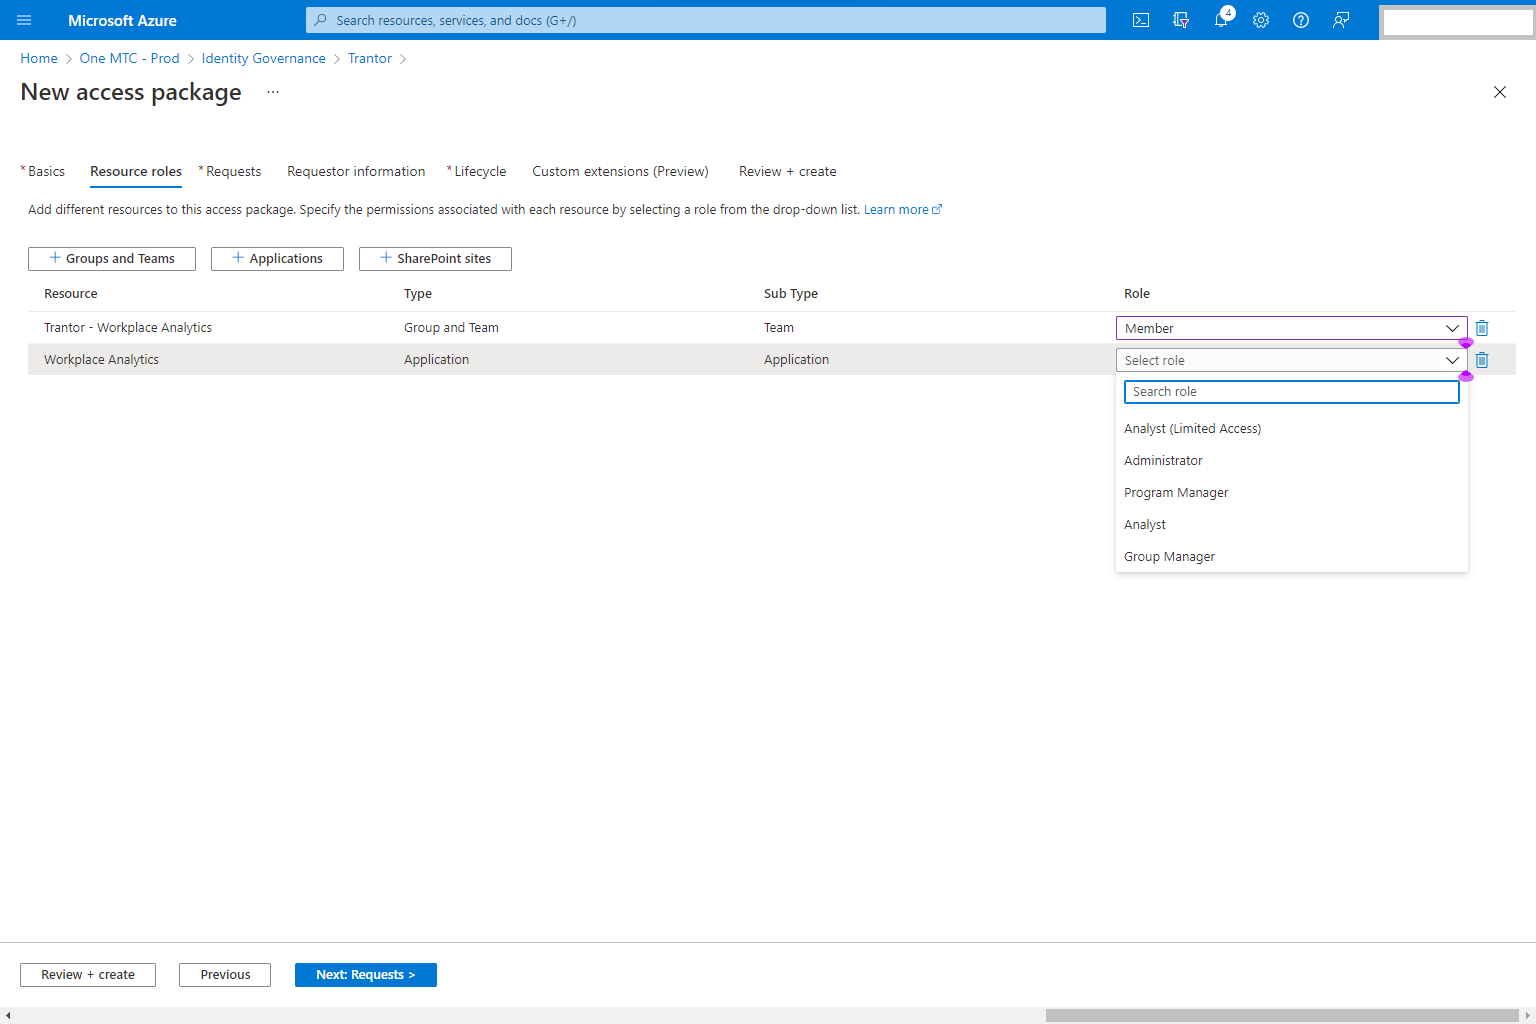
- Add resources to the Access Package and select the appropriate role for each resource
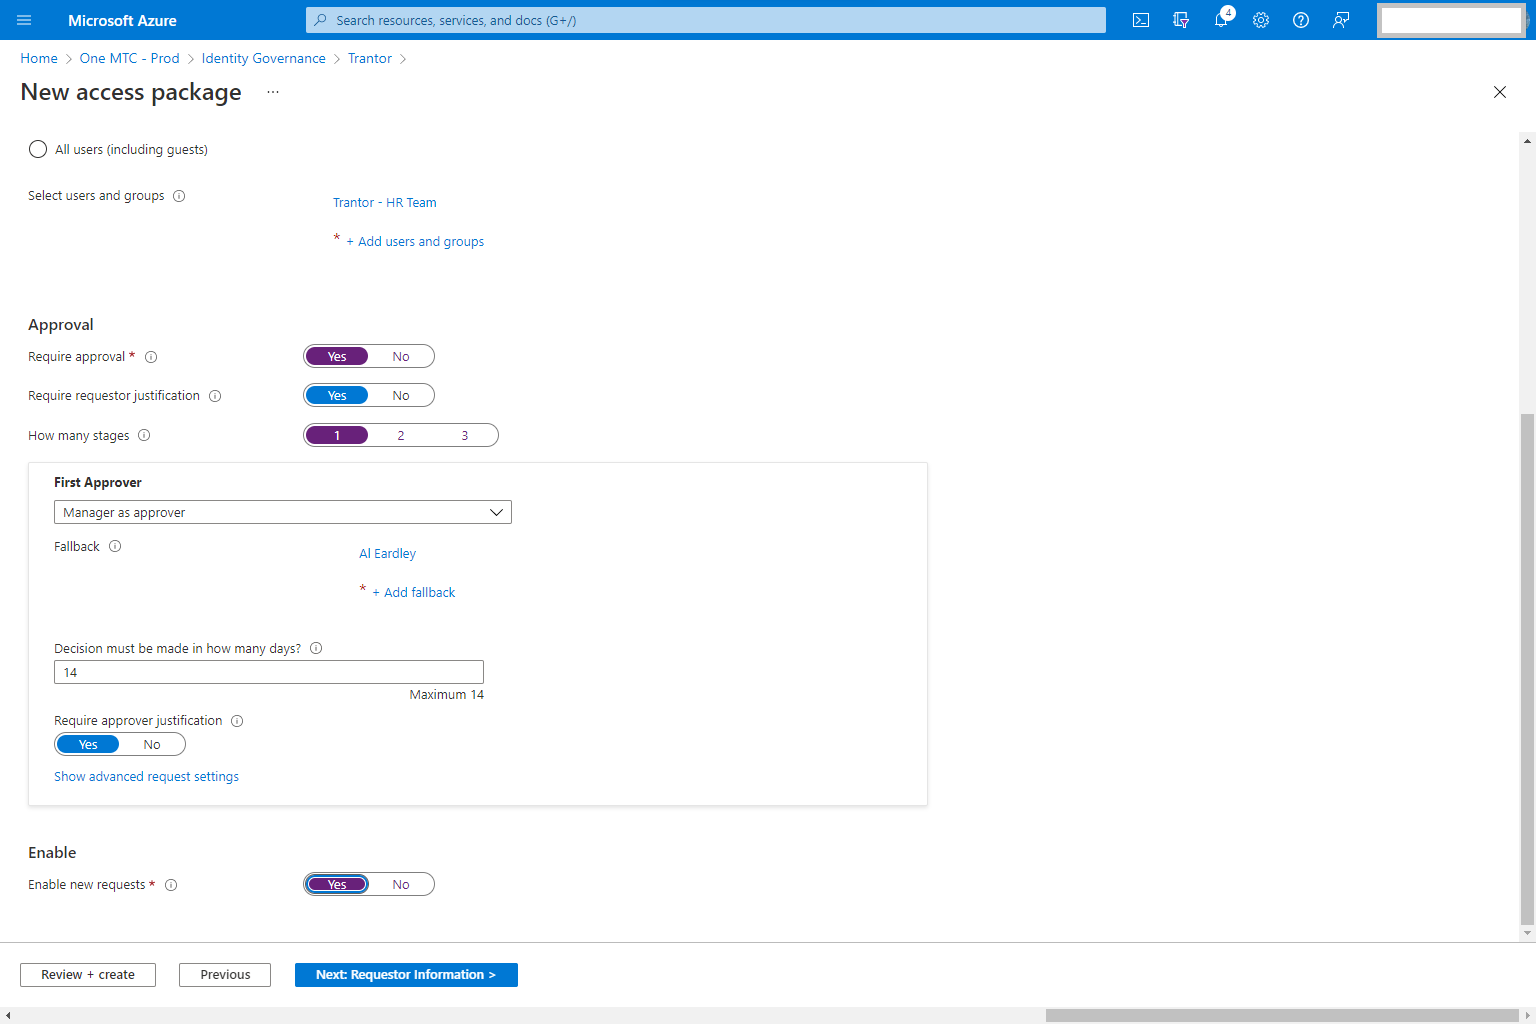
- Choose who can view and request the Access Package. For WPA this might be a specific security group such as HR. At this point other choices that will be made are:
- Is approval required, and if so how many steps will be required
- In the image below, one step is included which is the manager of the user, based on Azure Active Directory hierarchy. A fallback has to be provided in case there is no manager for the user or no response is received.

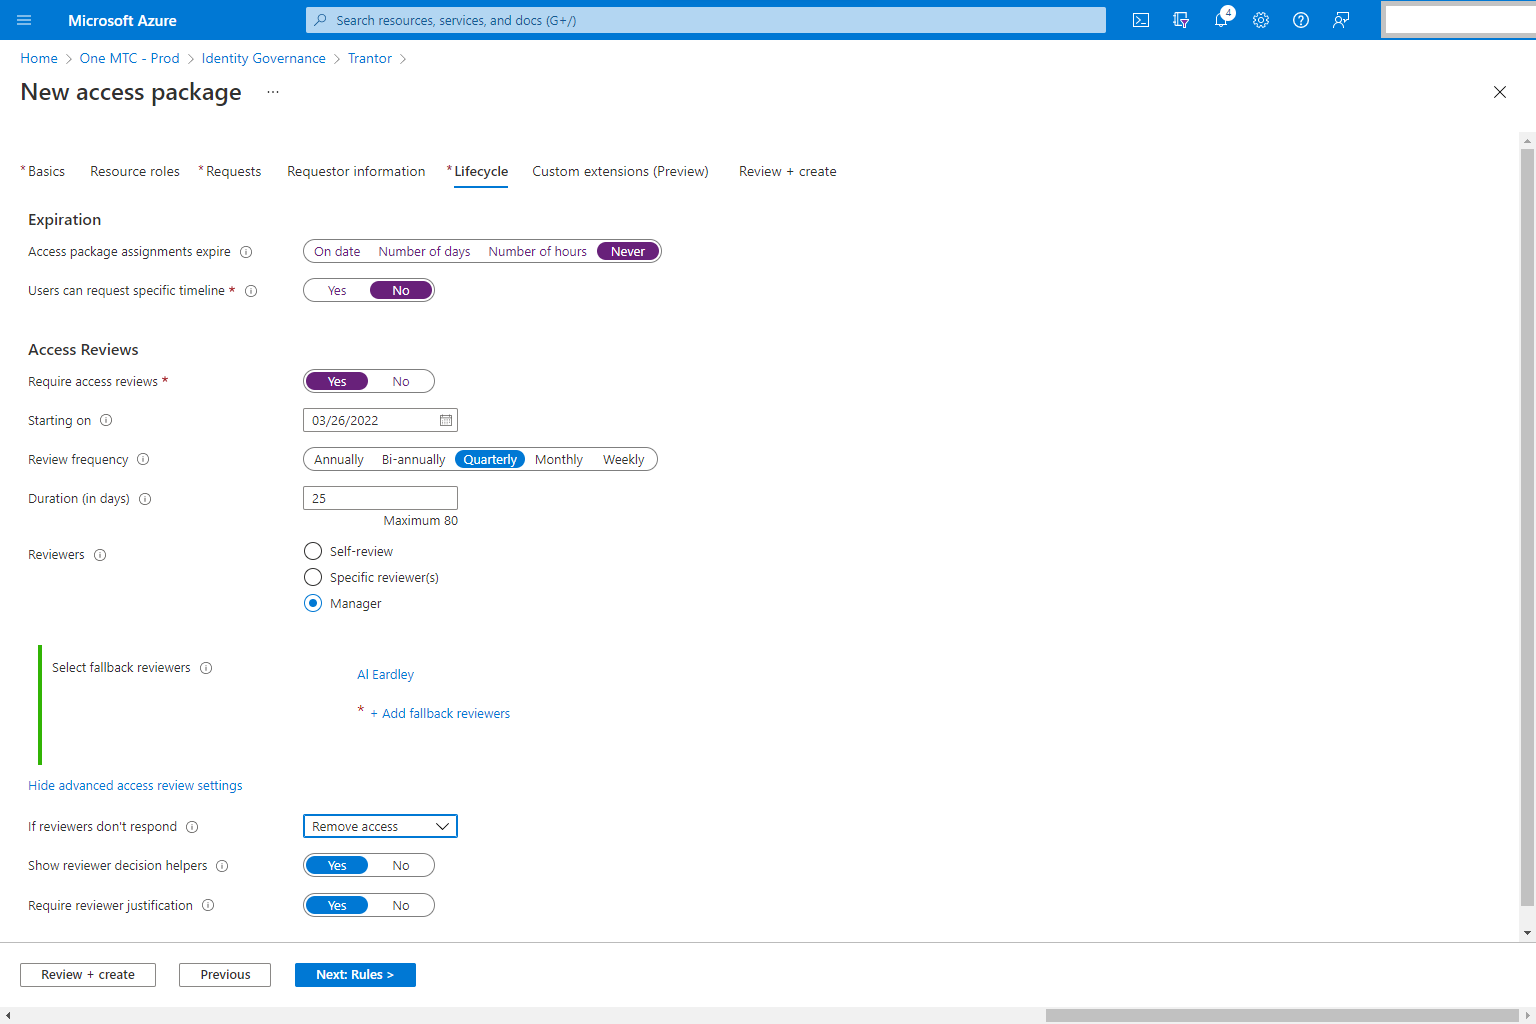
- After access is granted, Access Reivews can be used to ensure that access is checked on a schedule and revoked if no longer needed
User Access
Once the Access Package has been created, users can request access themselves without the need to go to IT.
This is accessed from https://myaccess.microsoft.com/
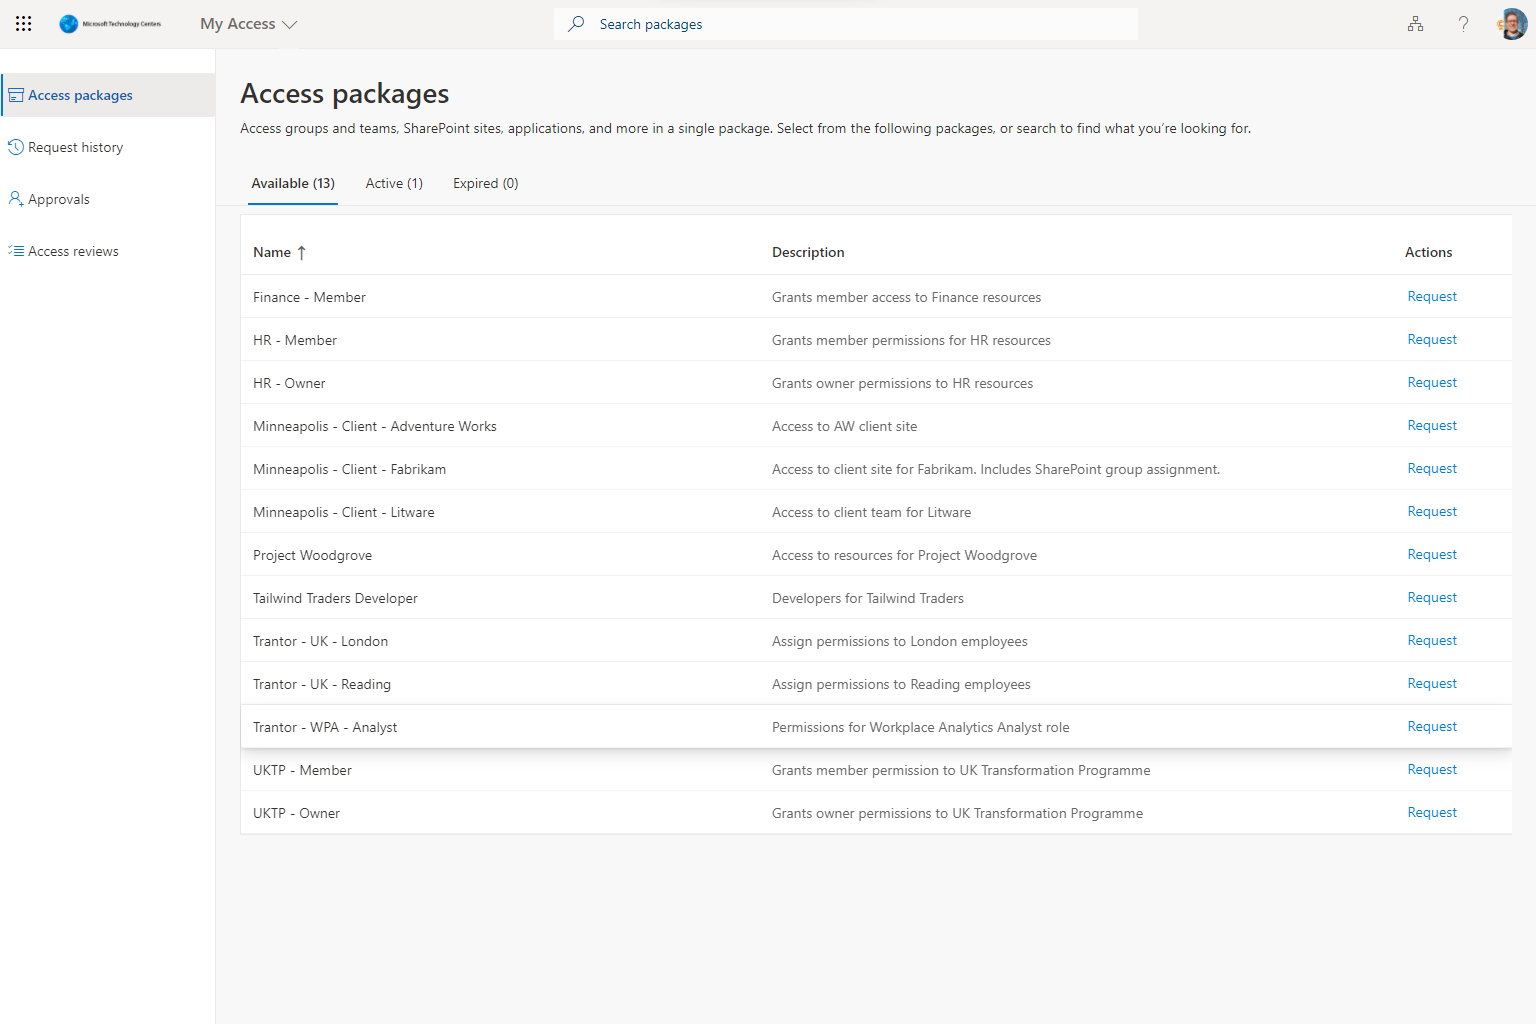
The “My Access” page is where a user can view Access Packages that have been published to them, request access to them and also participate in the approval process for requests if they are an approver.
Summary
The use of Entitlements and the Catalogues and Access Packages requires Azure Active Directory Plan 2 licencing but it allows the management of groups of permissions but the business users who know who should and should not have access. This can significantly increase the speed that users gain access to the resources they require to do their job and can ensure that highly sensitive applications such as Workplace Analytics are secured and access is monitored constantly removing the risk of permissions never being removed when a user changes their job role.